
Scene assessment is the first and one of the most crucial steps in providing first aid and other lifesaving procedures. The decisions made during this stage can significantly affect the outcome of the scenario and the victims.
Read on as we provide more insight on properly conducting scene assessment.
Scene Assessment At An Accident
Upon arrival at the accident scene, the first step is to ensure the safety of the casualties, bystanders, and first-aid responders.
The main aims of scene assessment are to control the situation, look for potential hazards, and protect and prioritize everyone’s safety.
Scene assessment and safety is one of the most important factors when responding to an emergency. Accidental injuries often present dangers, which require thorough scene assessment and management. These may be an ongoing task as the incident unfolds new risks and hazards.
How To Safely Assess The Scene Of An Emergency?
Here is a step-by-step guide to conducting a first aid scene assessment.
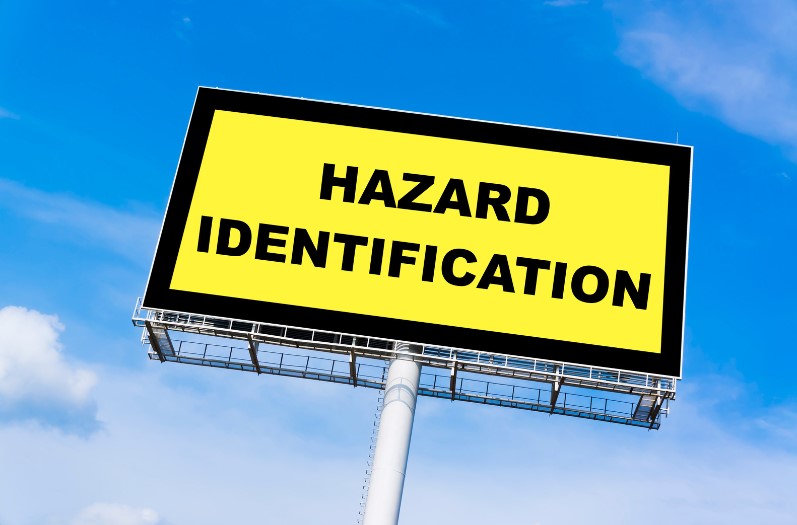
Step 1: Identify And Mitigate Potential Dangers
The hazards present at the emergency scene could still present danger to the casualty, bystander, and even yourself as the first responder.
Therefore, it is important to ensure that the area is safe before approaching the scene and administering first aid.
Step 2: Call For Help
If there are other bystanders in the area, it is best to ask for others’ help when dealing with the aftermath of an accident alone. While performing the first-aid procedure, ask others to halt the traffic and call the emergency services. Doing so will make the outcome more likely to be positive.
However, if you are alone, try establishing the person’s breathing first, then call triple zero (000) immediately.
Step 3: Check For Response
Do a quick run-through of the casualty and check their response levels by first talking loud and clear. If there is no response, gently shake the shoulder and give the person’s earlobe a pinch to try and get a response.
After doing these checks and there is still no response, move on to the next step. When dealing with multiple casualties, those who have trouble breathing and appear responsive must take priority.
Step 4: Check The Airway
It is easier to treat a responsive casualty as you may easily spot the signs and help them clear the airway. However, if the person is non-responsive, they will need to be put in a recovery position.
When opening an airway, gently place one hand on the person’s forehead, then tilt the head backwards to open the mouth naturally. Use two fingers from the other hands to lift the chin and create an unobstructed airway.
Step 5: Check The Casualty Is Breathing
Any signs of airway obstruction will require checking of breathing conditions. Listen closely to the casualty’s chest and mouth to see if there is even slight breathing, and watch if the chest rises and falls normally.
If the casualty is not breathing, call 000 immediately to request emergency services assistance.
While waiting, perform chest compressions and rescue breaths in accordance with first aid guidelines and best practices. For more information, check out our course on Provide CPR in emergencies.
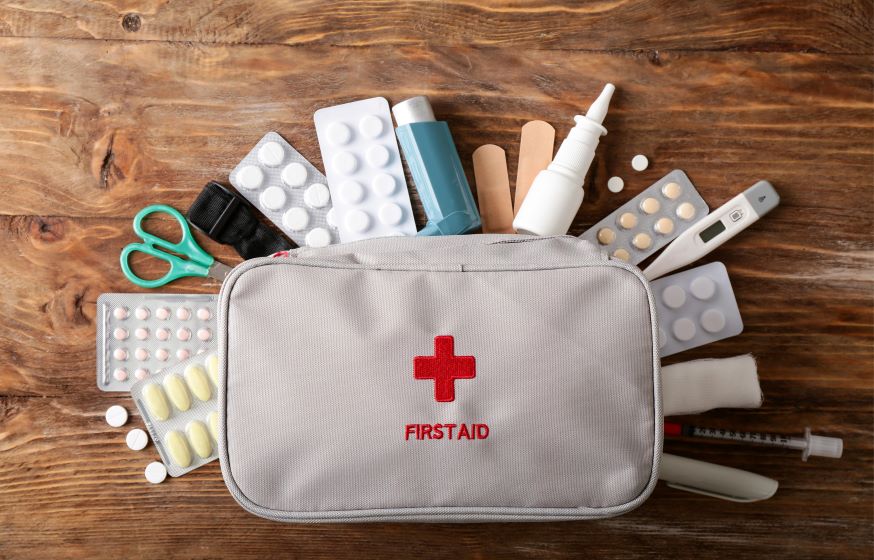
Get First Aid Training
The first person in the scene plays a critical role in the outcome of the casualties involved in the incidents. For this reason, undergoing proper first aid training can be lifesaving.
At First Aid Tasmania, we offer a range of first aid courses designed to improve skills and knowledge relating to saving lives.
Remember that in an emergency, it may be important to remember and use the DRSABC acronym. This stands for Danger, Response, Airway, Breathing, and Circulation, which are significant steps to perform before the emergency services arrive.
For more information, click here or email us at courses@firstaidpro.com.au